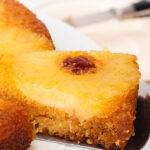
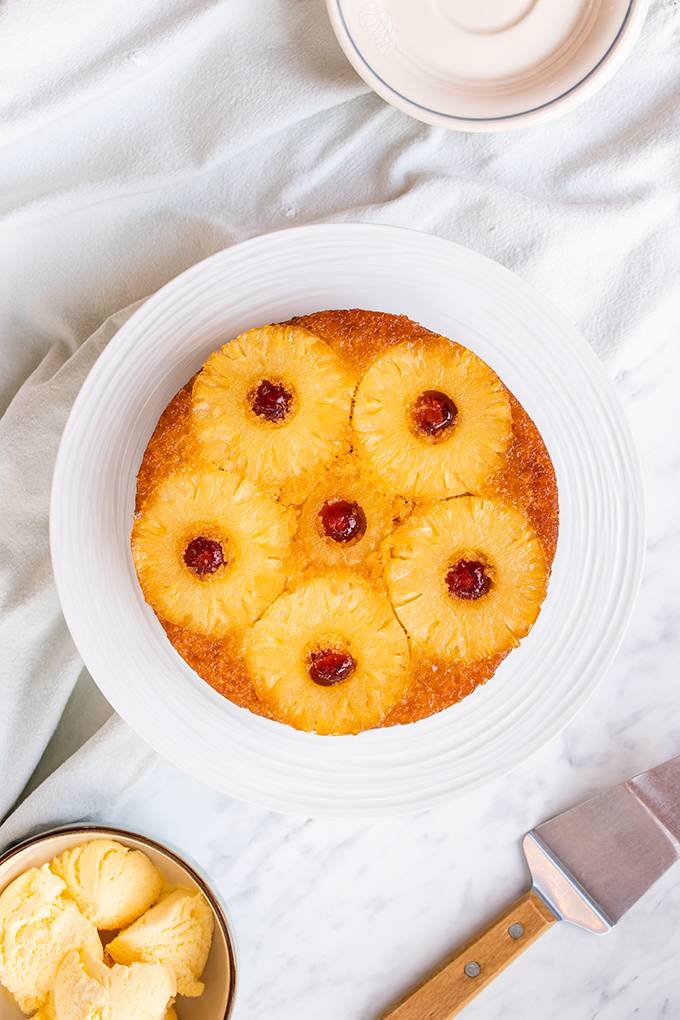
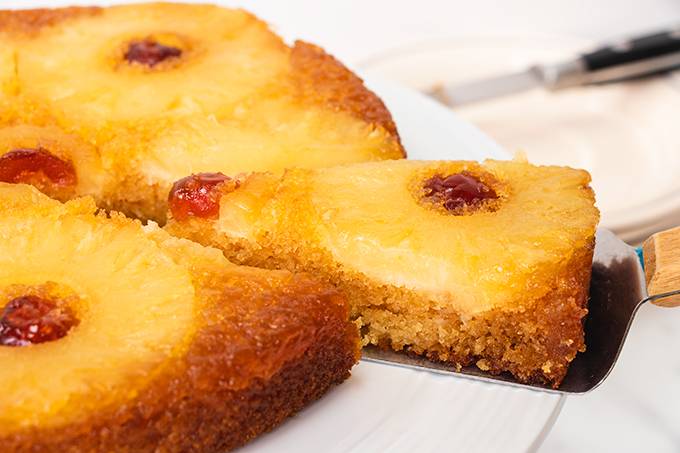
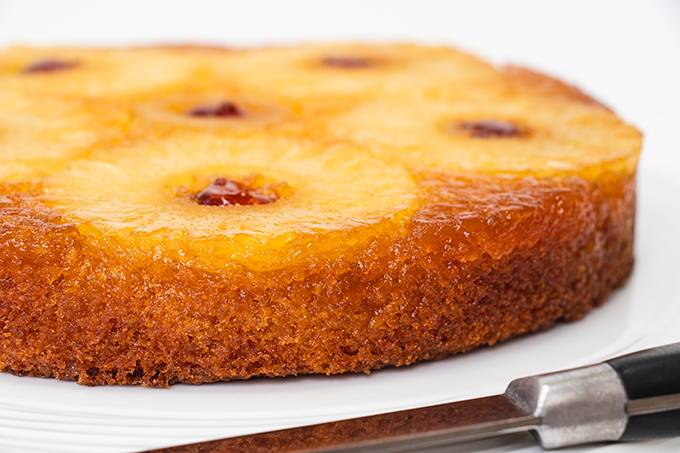
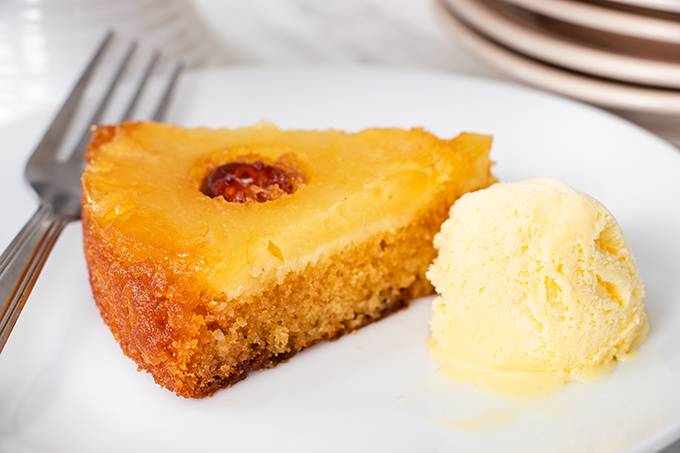
It turns out that much-loved golden tropical fruit was made for baking into a soft, fluffy cake. A sticky caramelised topping surrounds the juicy pineapple rings and glacé cherries, with a moist vanilla sponge cake beneath. This gluten and dairy-free pineapple upside down cake is sweet, syrupy and rather satisfying to make! For the ultimate pineapple cake experience, it’s extra amazing served warm with a scoop of your favourite ice cream.
How to make that delicious syrupy topping
As you fill your tin, the pineapple rings sit in a sticky caramelised mixture that will become the topping of the cake. This is made by melting together the following ingredients over a low heat:
- Brown sugar
- Dairy-free butter
- Golden syrup
And it’s as simple as that! Pour into the bottom of the tin, then place in your pineapple and cherries, and put the tin in the fridge while you make the cake batter.
What type of pineapple to use
Tinned pineapple rings will work best for this cake – a much easier option than slicing up a whole pineapple (though you could do that if you’ve got some time on your hands!). Remember to drain away the syrup/juice from the tin well so you don’t end up with a soggy cake.
It took 5 and a bit pineapple rings (about 3/4 of a tin) to fill the bottom of my 20cm cake tin. If like me you can’t fit another whole ring in the centre of the tin, just use a cookie cutter or knife to cut it to size.
When should I flip my cake upside down?
Once removed from the oven, it’s best to leave your cake to cool for 5-10 minutes. Then, you’re ready to flip! First, place a large plate over the top of the tin. Then, with your hands firmly holding the two together, swiftly flip everything upside down to turn the cake out onto the plate and reveal that tasty golden fruit.
Do I need to refrigerate pineapple upside down cake?
Yes – due to the high moisture content, your gluten and dairy free pineapple upside down cake should be stored in the fridge once cooled and enjoyed within 2-3 days. I like to warm the cake up in the microwave before eating.
Looking for more gluten and dairy free bakes?
Why not try:
- Pear and ginger pudding with chocolate sauce
- Chocolate apricot flapjacks
- Apple and cinnamon cake
- Orange and almond cake
- Strawberry and rhubarb crumble
If you give this colourful gluten and dairy-free cake a try, don’t forget to let us know how you got on my leaving a comment and rating below. You can also tag us in photos of your bakes on Instagram @BlueSkyEating. Enjoy! 🙂

Gluten and Dairy Free Pineapple Upside Down Cake
Ingredients
For the topping:
- 40 g light brown sugar
- 20 g golden syrup
- 50 g dairy-free spread
- 5-6 tinned pineapple rings in syrup (drained)
- 6 glacé cherries
For the cake:
- 110 g dairy-free spread
- 110 g caster sugar
- 110 g gluten-free self raising flour
- 1 tsp baking powder
- 2 large eggs
- 1/2 tsp vanilla extract
- 1 tbsp golden syrup
Instructions
Make the topping:
- In a saucepan over a low heat, melt together the 40g of brown sugar, 20g of golden syrup and 50g of dairy-free spread.
- Pour your melted topping mixture into the bottom of a 20cm cake tin and arrange the pineapple rings on top. If there isn't enough space in the centre for a whole ring, use a round cookie cutter to cut one of the rings slightly smaller. Place a glacé cherry in the centre of each ring.
- Place the tin in the fridge whilst you make your cake batter.
Make the cake:
- In a large bowl, beat together the dairy-free spread and caster sugar until pale and fluffy.
- Measure out the self-raising flour in separate bowl. Add the baking powder and whisk to combine.
- In another small bowl or jug, beat the eggs.
- Add about a third of the beaten egg to the butter/sugar mixture, followed by about a tablespoon of the flour mixture. Beat until combined. Repeat this process twice more until all of the egg has been added.
- Add the vanilla extract and golden syrup. Beat together.
- Sieve in the rest of the flour mixture and gently fold together until just combined.
- Remove your tin from the fridge and spoon the cake mixture on top of the pineapple rings. Spread it out evenly.
- Bake for 30-35 minutes. If the top starts to become too browned (check after 20 minutes), loosely cover with foil.
- Leave to cool in the tin for 5-10 minutes before turning the cake out on a plate so the pineapple is in top.
- Serve warm with ice cream (dairy-free in necessary!).

Please note that nutritional information is based on estimated quantities and therefore not always 100% accurate.

Well done. This is such a flavourful and tasty cake you don’t miss anything!
This cake is absolutely delicious! So glad I found this recipe!
Wonderful flavor and texture! Delicious!
It was great! My kids especially loved it.
Looks amazing!